Share this
Bitazza 101: How to Deposit/Withdraw USDT on Bitazza Global

Sending and receiving stablecoins like Tether USDT on Bitazza is possible through a wide variety of supported USDT networks available on the platform. All you need to do is ensure you're using the correct address, and that both the sender and receiver are on the same network for the process to succeed. Using the wrong address or network may result in the loss of your funds, that’s why it’s essential to follow these steps carefully. Whether you are new to crypto or an experienced user, this step-by-step guide will show you how to deposit and withdraw USDT confidently on Bitazza.
How to Deposit USDT on Bitazza
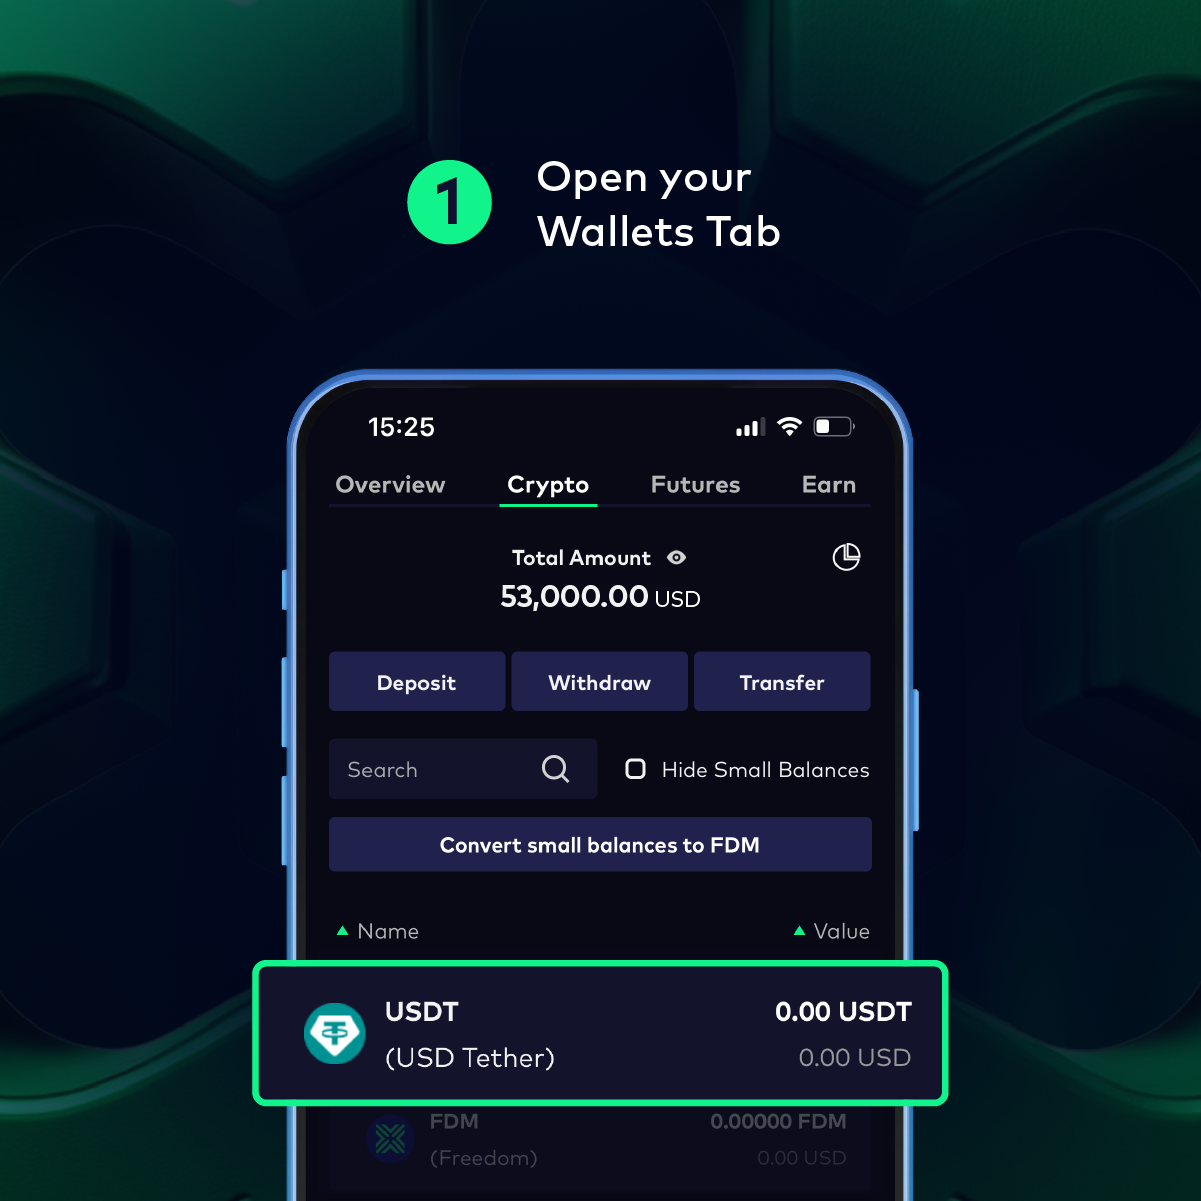
Step 1: Open the Wallets Tab
- Log in to your Bitazza account and access the “Wallets” tab on the app, or "My Wallets" on the web homepage.
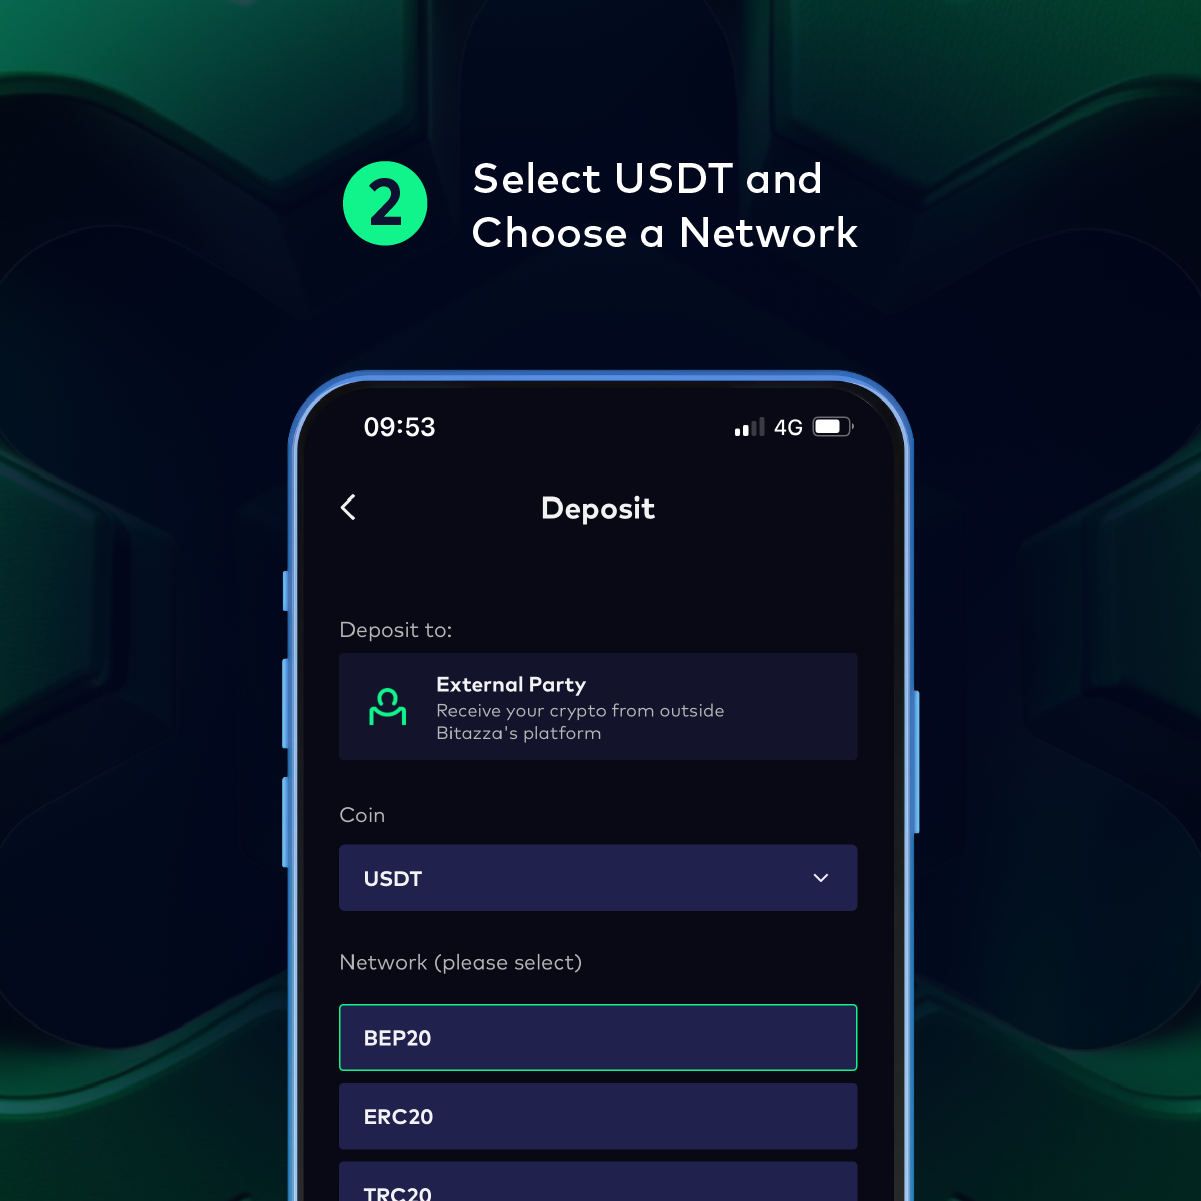
Step 2: Choose USDT and Select Network
- From the list of assets available, select Tether USDT, then choose “Deposit”.
- You will find a list of supported USDT networks such as BEP20, ERC20, TRC20, SOL, Arbitrum One, or Optimism. The list includes the estimated fees and transaction time for your convenience. Make sure to choose the network that best aligns with your requirements and matches the sending platform to avoid any issues. For example, you can only send BEP20 tokens via the BEP20 network, or ERC20 to ERC20, etc.
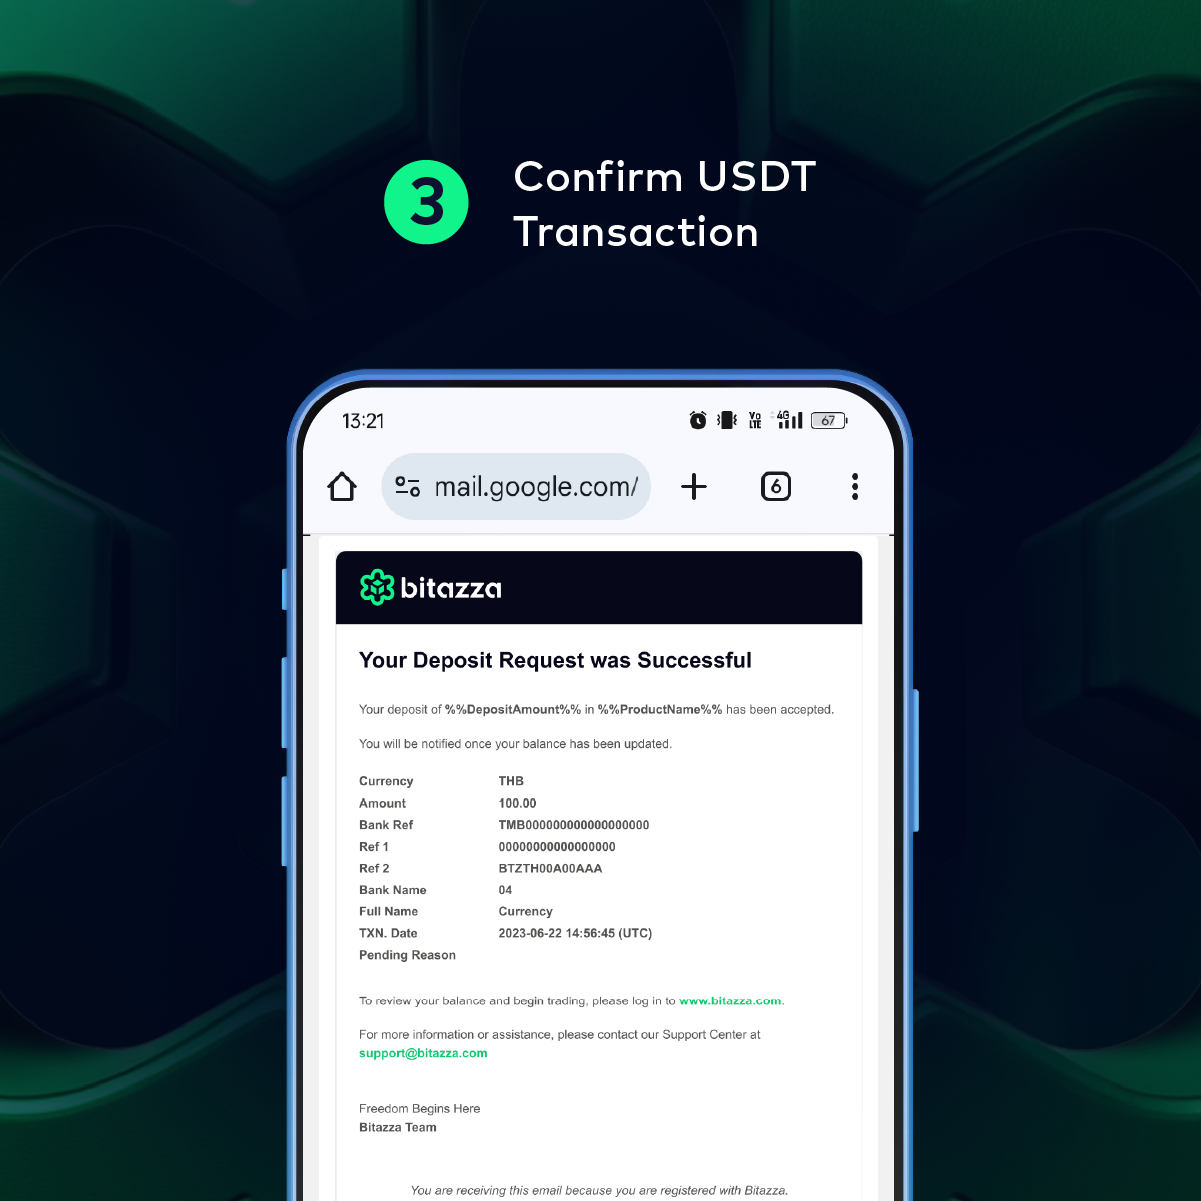
Step 3: Generate Address and Deposit USDT
- Once you have selected the USDT network, a deposit address will be generated for you.
- Use this address on the sending platform to transfer USDT to your Bitazza wallet.
- You will receive a confirmation email once the transaction is complete, and you can monitor your balance in your Spot Wallet.
How to Withdraw USDT on Bitazza
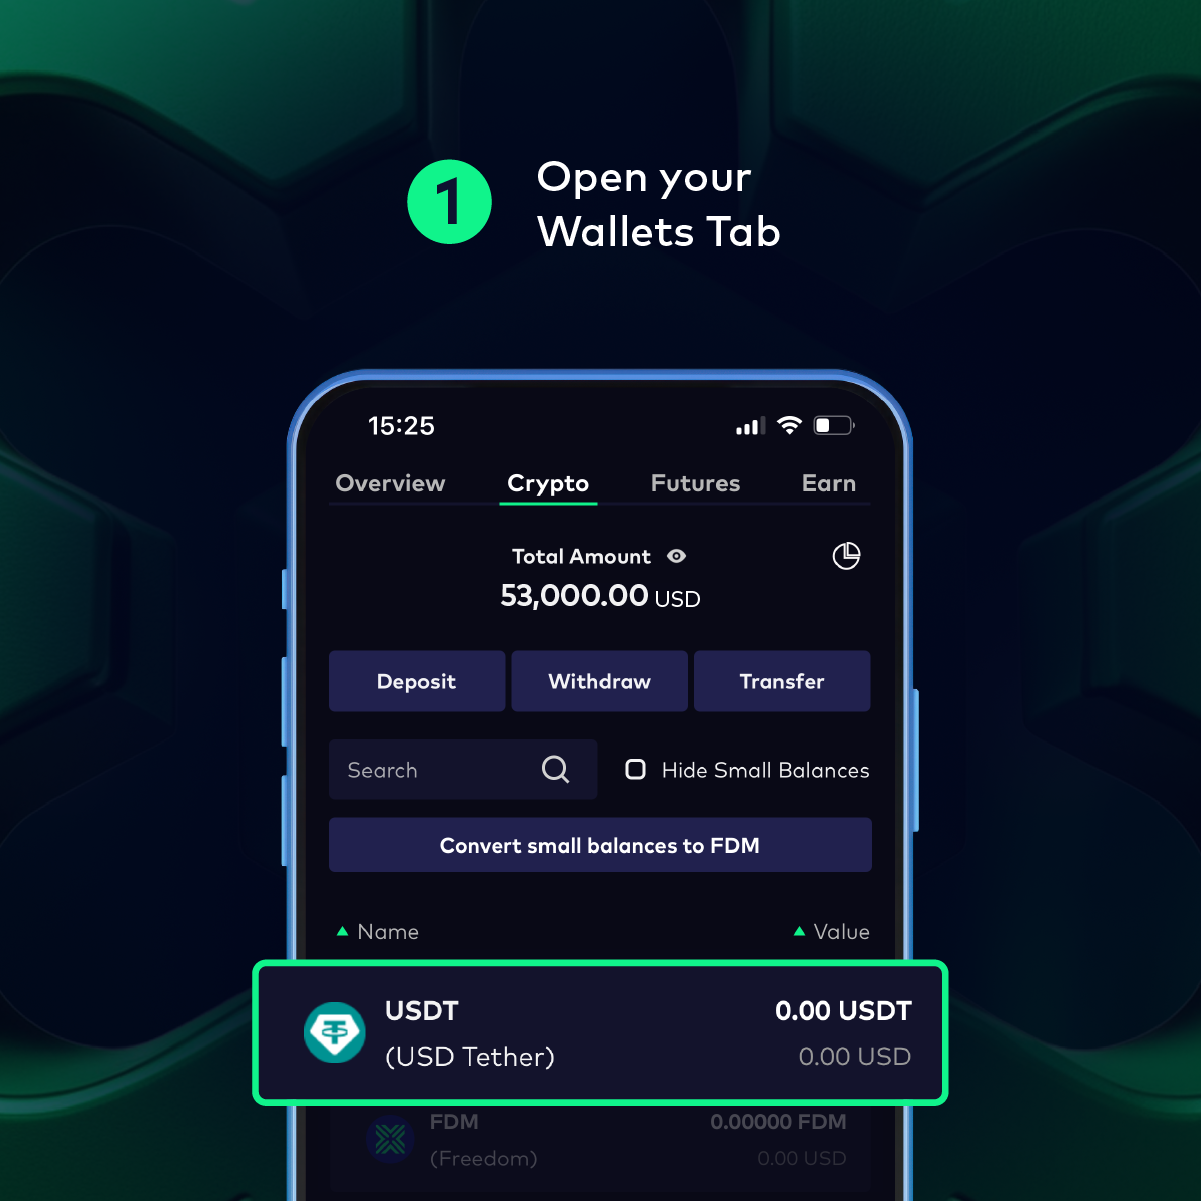
Step 1: Open the Wallets Tab
- Log in to your Bitazza account and navigate to the “Wallets” tab on the app or "My Wallets" on the web homepage.
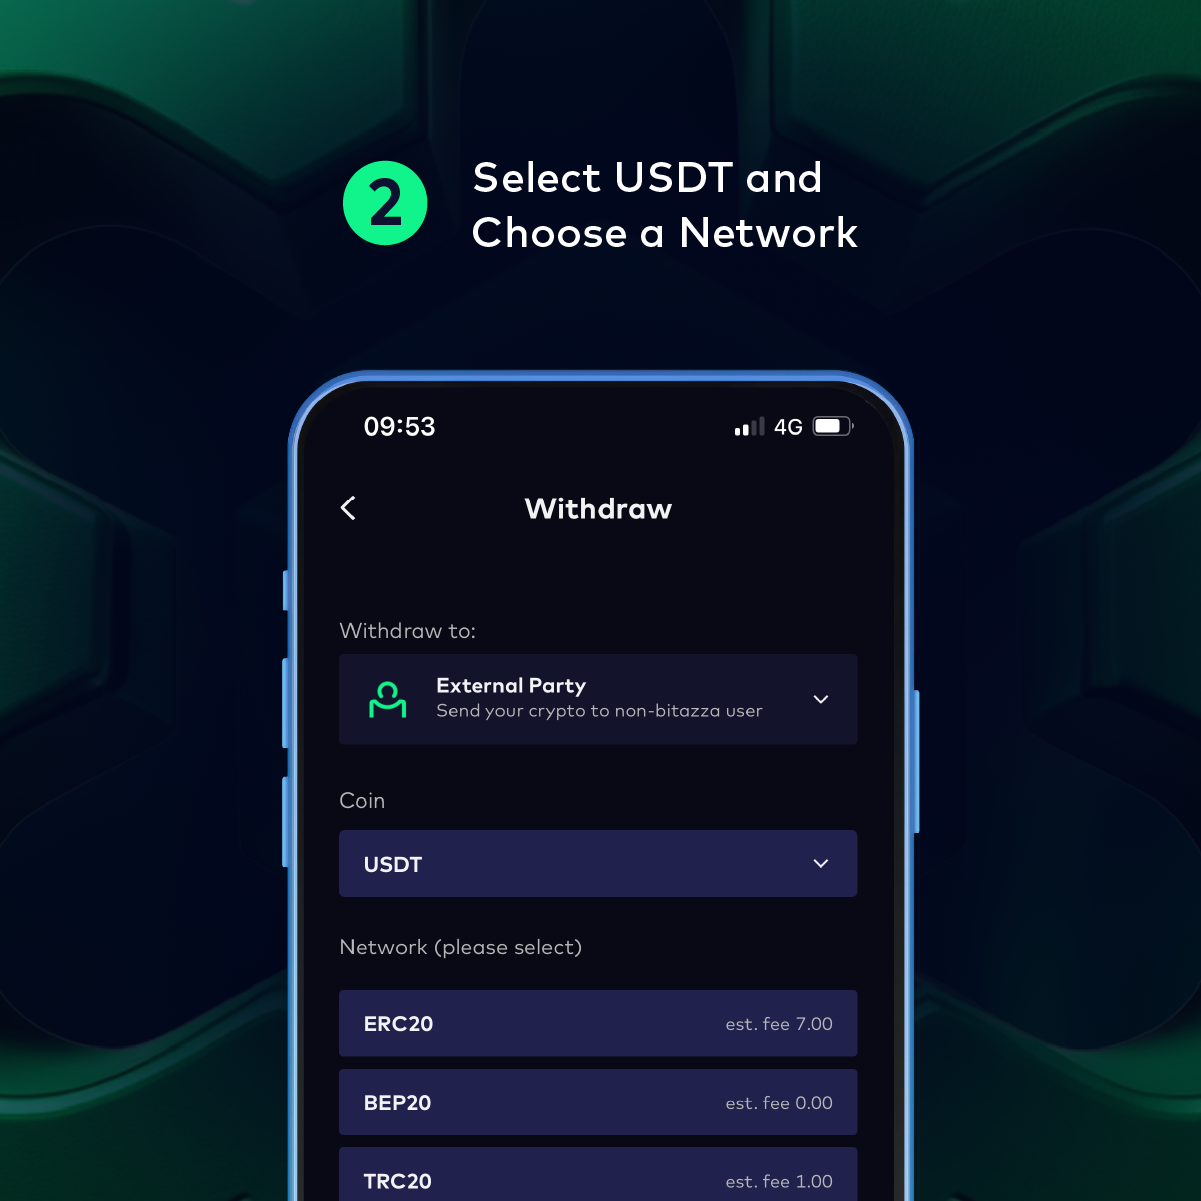
Step 2: Choose USDT and Select Network
- Select USDT and then "Withdraw.”
- Choose your preferred network from the options available: BEP20, ERC20, TRC20, SOL, Arbitrum One, or Optimism.
- Compare the transaction fees and estimated times for each network to determine which is the most suitable for you. Ensure both sender and receiver are using the same network.
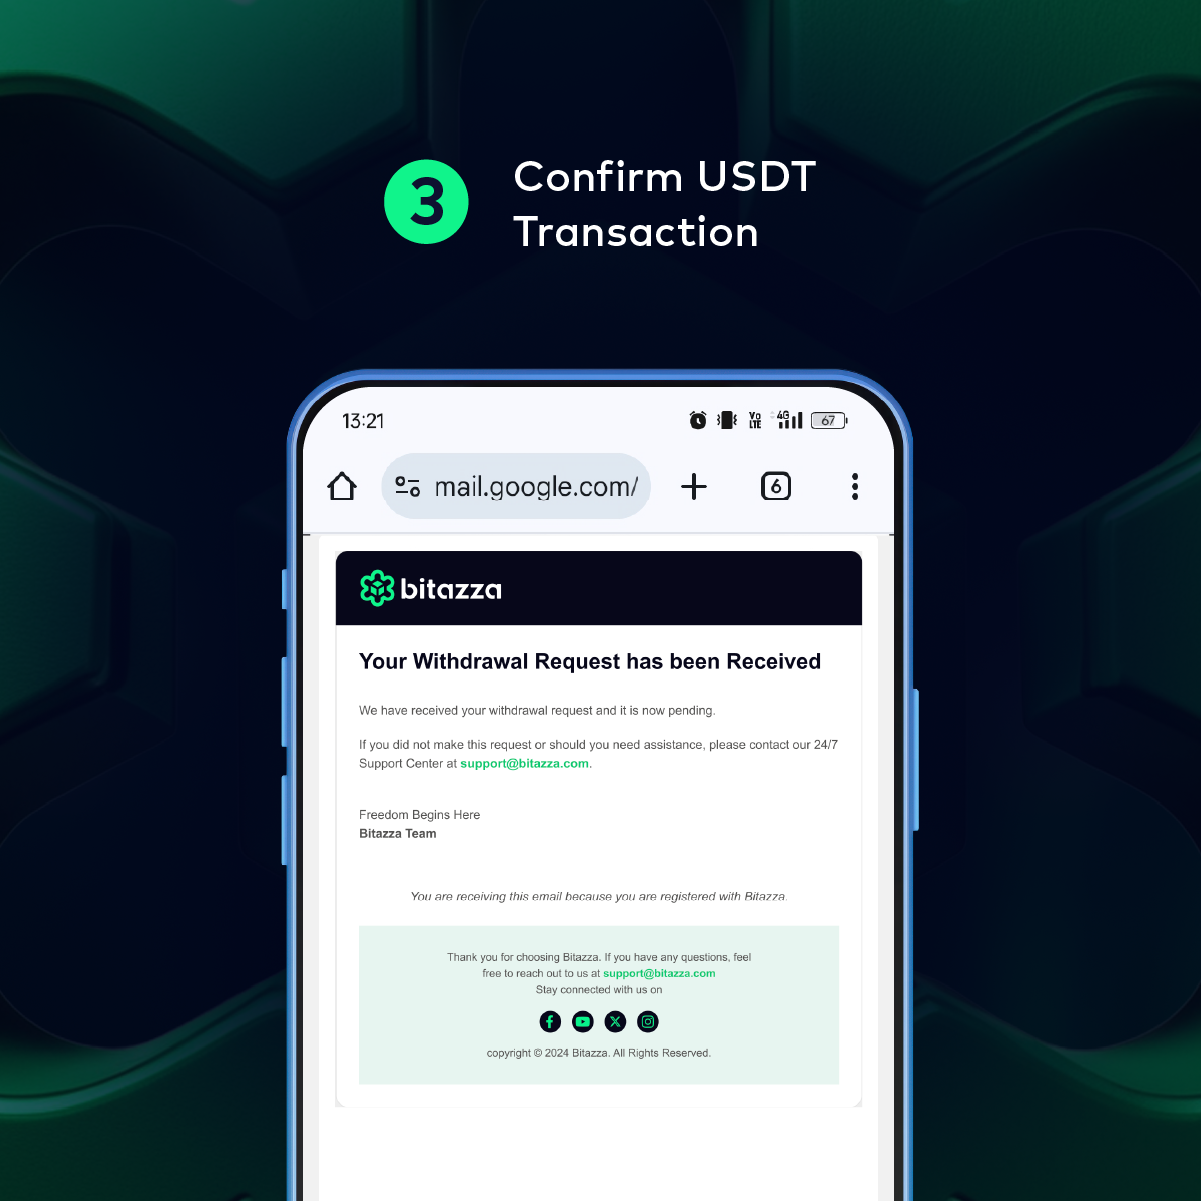
Step 3: Enter Address and Withdraw USDT
- Enter the recipient’s wallet address on the chosen network and specify the amount of USDT you want to withdraw.
- After confirming the details, complete the transaction by authenticating it via your 2FA (if enabled).
- You will receive a confirmation email once the transaction is complete.
Bitazza Key Features
- 90+ Supported Tokens: Bitazza offers a wide range of cryptocurrencies for you to deposit and withdraw through a multitude of supported networks.
- Secure Transactions: Ensure all transactions are safe with 2FA and network verifications.
- Convenient Wallet Access: Seamlessly manage your crypto assets with an easy-to-navigate dashboard.
Start Your Crypto Journey with Bitazza Today! To learn more about the various features and functions of Bitazza, visit our blog: https://blog.bitazza.com/blog
To download Bitazza and make your first transaction, visit: https://bitazza.onelink.me/YsZ4/xua047tn
Share this
- February 2026 (1)
- January 2026 (4)
- December 2025 (13)
- November 2025 (6)
- October 2025 (10)
- September 2025 (8)
- August 2025 (17)
- July 2025 (29)
- June 2025 (13)
- May 2025 (14)
- April 2025 (12)
- March 2025 (8)
- February 2025 (8)
- January 2025 (8)
- December 2024 (7)
- November 2024 (5)
- October 2024 (14)
- September 2024 (9)
- August 2024 (14)
- July 2024 (3)
- June 2024 (48)
No Comments Yet
Let us know what you think